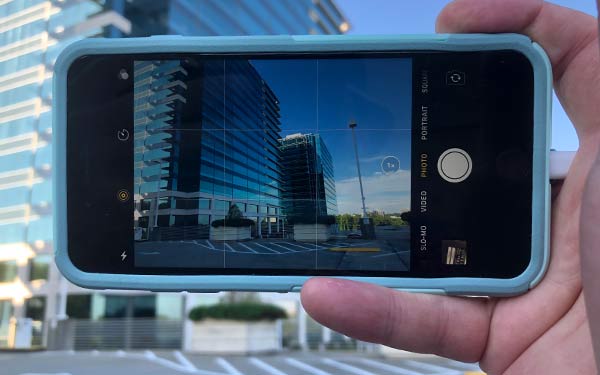
Avoid taking blurred, low-quality pictures with your phone and missing an opportunity to capture that special moment. By knowing just a few things to look for and how to adjust your phone, you can capture incredible images to cherish or share.
omniworldwide.com gathered the following information, tricks, and tips to help you take clear, stunning images with your phone.
Mobile Phone Photography
Nowadays, everyone seems to have a cell phone, and the vast majority of those phones have a camera. Use the following to be more proficient with your phone’s camera in capturing and editing the best pictures possible:
1. Turn On and Use Gridlines (Rule of Thirds)
Turn on your camera’s gridlines by going to your phone’s settings, scroll down to “Camera” or “Photos” then turn on “Grid.” Depending on the make of your phone, the Grid location could be in either the Camera or Photos settings.
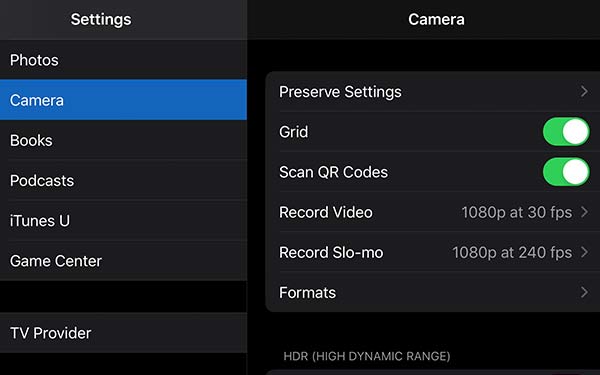
The rule of thirds is typically among the first rules taught in photography courses. The rule of thirds is a principle using gridlines that assist photographers frame well-balanced and captivating shots.
When looking at the picture window on your screen, use the grid’s four intersecting points in the center where the lines intersect to frame your points of interest. The location of these points corresponds with a person’s line of sight when first looking at an image. Using these points in your picture taking will help you capture the interest and keep the attention of your viewers.
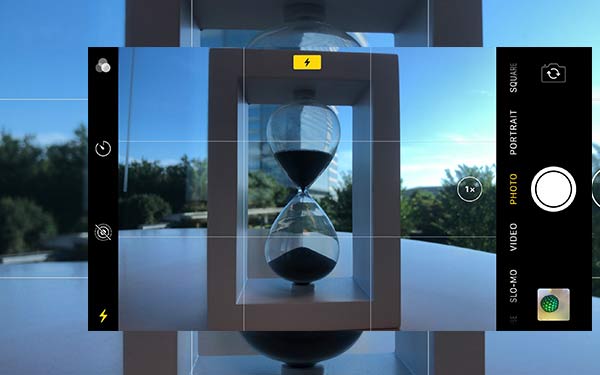
Note: Some phones offer two options; gridlines and a square overlay. Gridlines help you take pictures aligned with horizontal or vertical lines in the shot. The square overlay works excellently to frame images meant for social media platforms like Instagram or Twitter.
2. Clean The Lens
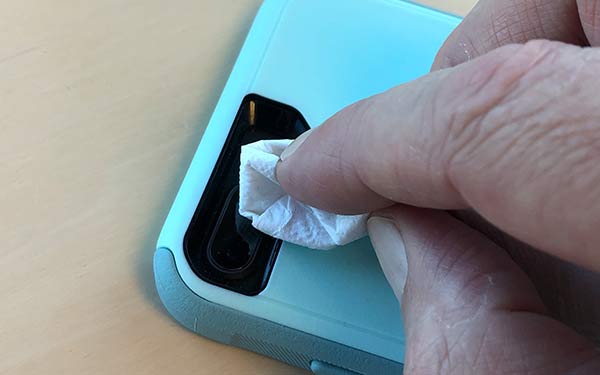
Your phone, no matter how careful you are, makes contact with multiple surfaces, gets shoved in pockets and purses, and invariably ends up with a dirty, smudged camera lens.
Prevent hazy, blurred images by keeping the lens clean, cleaning it before taking pictures, and avoid using abrasive materials that may scratch your camera lens.
3. About Using The Flash
The flash on most phones is a small LED (multiple LEDs on newer models). This, combined with the fact that it’s not even a half-inch away from the camera lens, makes for out of focus photos with strangely lit subjects.
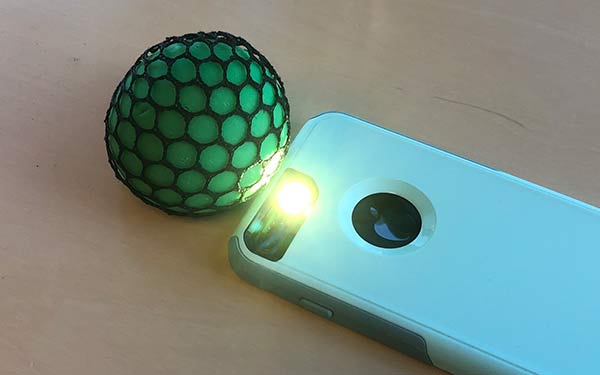
Brightness, darkness, mood, tone, and atmosphere of any photo can all be determined by lighting. Natural lighting will nearly always deliver better pictures than those taken using the flash.
Three types of lighting to consider when taking pictures are:
Backlight – The light used to create a highlight separating the background and the subject of your picture.
Key Light – This is usually the most crucial light to establish. It is the light used to highlight the form and dimension of your subject.
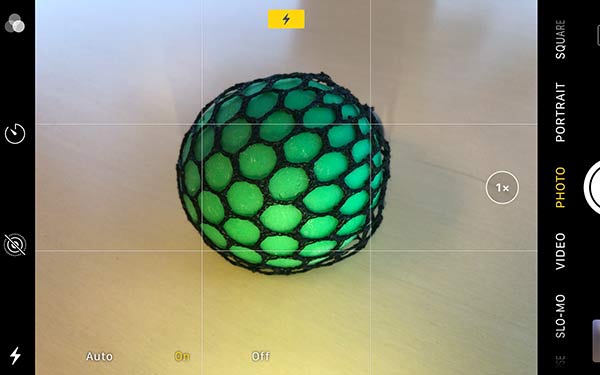
Fill Light – This light source is used to soften shadows and give the scene a feeling of depth, even though the final image is two dimensional.
Tip: Whenever you can use ambient lighting, do so. If you have access to another phone, turn on the “flashlight function” to add extra light, when needed, to the subject of your picture.
Note: Because you can immediately preview the pictures you take, take multiple pictures of your subject under different lighting conditions. You can then delete what you dislike and keep the ones that went right.
4. Horizontal (Landscape) or Vertical (Portrait)
There was a time that horizontal (landscape) photos and videos were preferred. However, with the widespread use of phones with cameras, coupled with the natural tendency to capture images and video in portrait mode, the internet and social media platforms have adapted to accept either format.
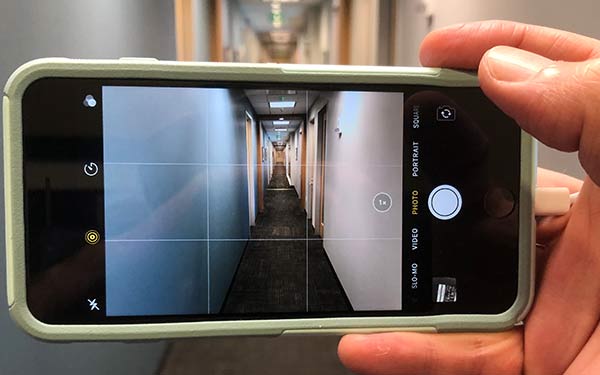
When posting images to social media platforms, some will “auto fit” or allow you to resize your image. However, when these options aren’t available, the uploaded image will default to the preset values of the platform/app.
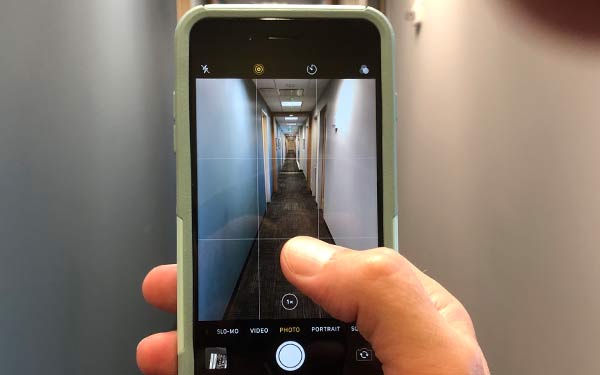
For example, WhatsApp, Facebook, and Instagram posts allow you to take real-time photos and videos or upload them from your media library. Regardless of the orientation, the selected items will autofill the editing screen, you can then manipulate the size.
Note: You can avoid “sideways” pictures and videos by allowing your device’s camera to auto adjust when you turn it on its side (for landscape) or back to the upright position (portrait). You can see the controls on the screen rotate when it auto adjusts.
Tip: We’ve all seen pictures and videos that appear as a “strip” between two black rectangles. If this happens to you, try changing the orientation of your phone.
5. Use a Tripod
If you constantly take blurry pictures, you may need a tripod. No matter how steady your hand is, there is no matching the versatility that a tripod offers you as a professional or amateur phone photographer.
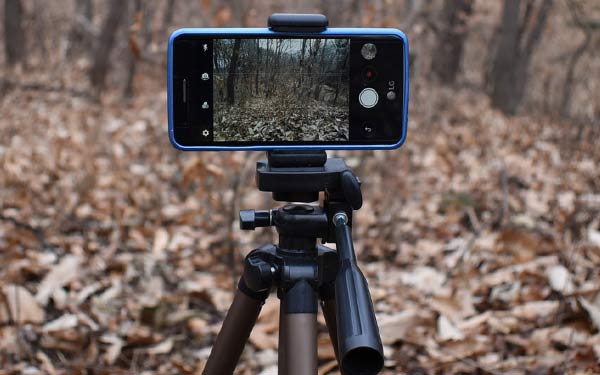
Tip: Resting your phone against a wall, desk, rock, or another solid object will help you still your phone when you don’t have access to a tripod.
6. Use The Volume Button
There are several ways to activate the shutter when taking a picture with your phone. Consider the following:
The Button on The Screen – This one is fairly obvious. Depending on how you are holding your phone, it may be challenging to maneuver your thumb or finger into place without losing focus on your subject.
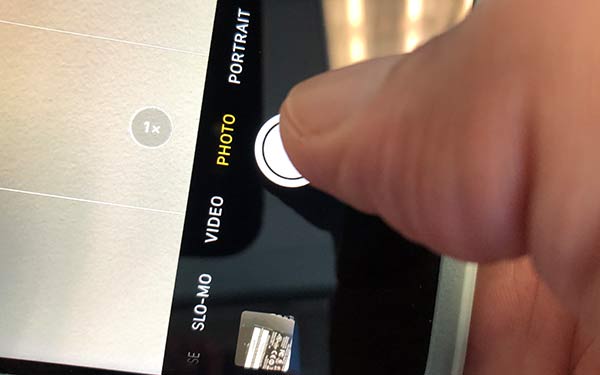
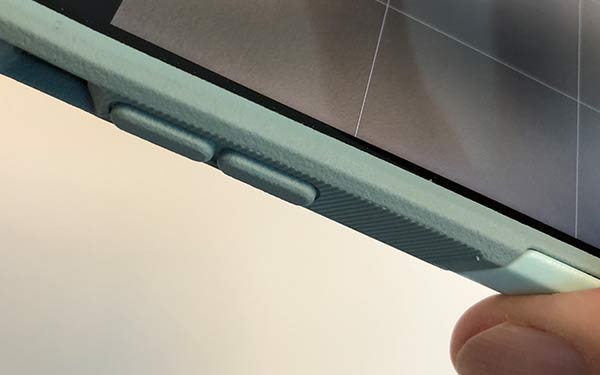
The Volume Button – That’s right. The volume button on the side of your phone can be used to snap your pictures as well. Holding the volume button down will capture several images in rapid succession.
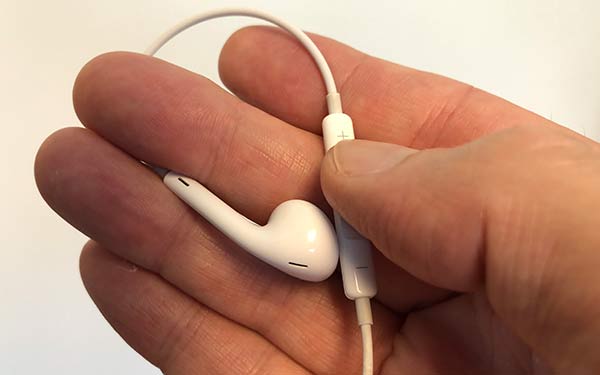
Headphone Volume – If your headphones still have a cord, the volume button on them allows you to snap pictures without disturbing your phone at all.
Voice Activated – On smartphones with Google Assistant, you can ask your phone to take a photo, timed image, or selfie. Some phones, using AI technology, can detect a smile or a kiss as a trigger to take a picture.
Note: On Apple iOS devices, Siri can open your camera app, but you will still have to press a button.
7. Avoid The Zoom Function
For as much as you’d like to get closer to the object of your photo, digital zoom shots are nothing more than cropped and resized images. Using your digital zoom will likely result in a grainy image, reduce the resolution of the photo, and exacerbate any vibrations from your hands. This includes any zoomed shots taken on phones with multiple lenses.
Tip: Capture your images without zooming in on a subject. Then, crop and edit your images using the photo editor on your phone or computer.
8. Use Different Angles and POV
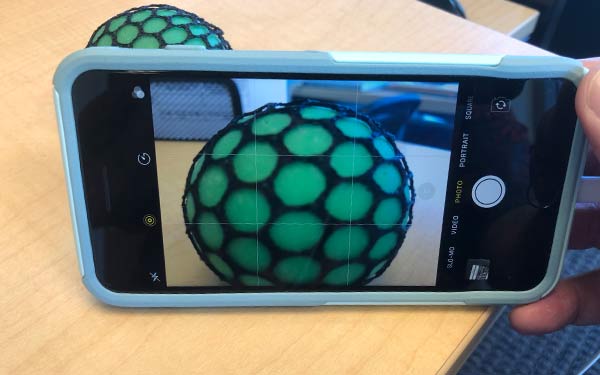
Capturing images from different angles can result in some of your most memorable photos. This is about seeing from another perspective, and to accomplish this, it will require a bit of creativity. Consider trying the following:
Perspective – Consider how a child sees the world. To capture this perspective, you may need to lie down or crouch. Conversely, you can capture the POV of a bird by shooting pictures from rooftops or from high up in a tree.
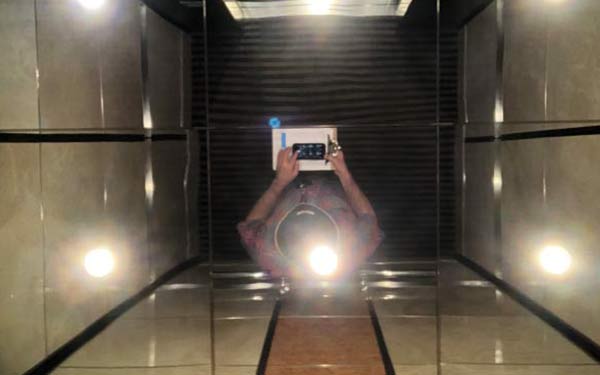
Sky Shots – Sometimes called “reverse bird’s-eye,” these shots will see you lying on your back waiting on the perfect moment.
Macro – Get as close as you can to your subject. At some point, your auto-focus will stop working, and that’s fine. Pull back, shoot the perfect shot, and enlarge the subject in the editing phase. This is a popular way of taking pictures of small animals, insects, and objects.
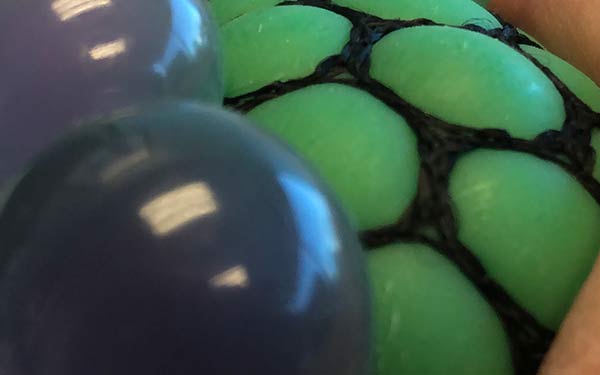
Use different angles and proximities to capture unique and intriguing pictures. Some photographers have become very well-known for the recognizable style they use when taking pictures.
9. Use High Dynamic Range (HDR)
High Dynamic Range (HDR) is an increasingly available feature on many phone models. It adds detail to dark and light areas, providing a better-balanced exposure in the pictures you take.
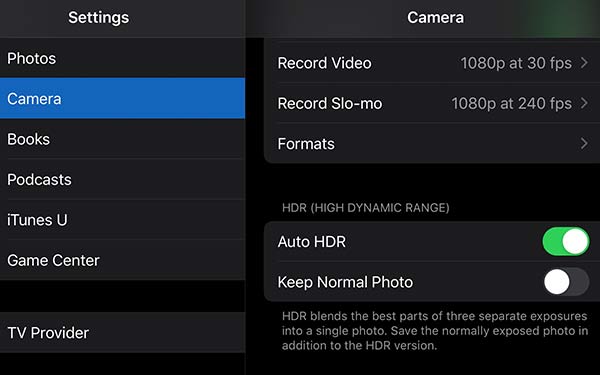
HDR will stop the sky in your picture from being too bright or the ground from being too dark. If there’s a big contrast in the lightest and darkest parts of your scenery, your phone’s HDR function is a good option to correct this.
10. Take Multiple Pictures
Test your lighting and your settings by taking multiple pictures and previewing them before shooting “the shot.”
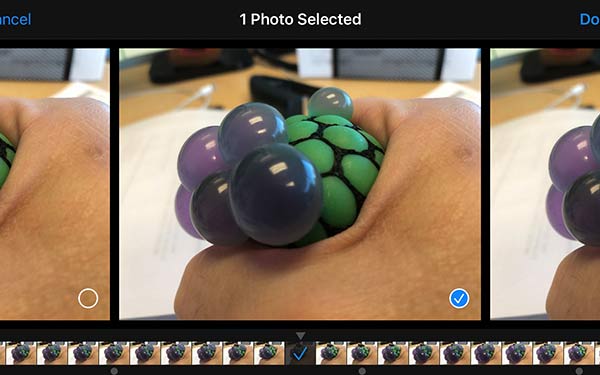
“Burst photos” are a fantastic option when your subject is in motion. Bursts usually happen in sets of ten and allow you to select the best shots from each set.
Tip: Set your lighting or get more natural light on your subject to capture the best sets of burst photos.
11. Stabilize Your Phone in Dark Conditions
When your phone detects dark conditions, like those found in concerts, bars, etc., it will increase the ISO setting (referring to the phone’s image sensor’s sensitivity), potentially leading to blurred, grainy pictures. This happens because your phone is trying to compensate for the lack of light, you can assist your phone by leaning it on a wall, ledge, or table.
12. Learn Your Camera’s Functions and Practice
Cell phone camera technology continues to evolve and increase in both ease and quality. Take the time to read the phone’s manual to see what has been upgraded or added to your phone’s capabilities.
When you find new, exciting features on your phone, practice. Since you can immediately delete the pictures you don’t like, take as many pictures as you want. By doing this, you can quickly improve your skills and the quality of the pictures you take.
Note: For as good as you get at taking pictures with your phone, leave significant events like weddings and trade shows to professional photographers.
13. Photo Editing Apps
Once you’ve captured your best images, you can use one of many apps designed to edit your photos. The following are some of the most recommended photo editing apps:
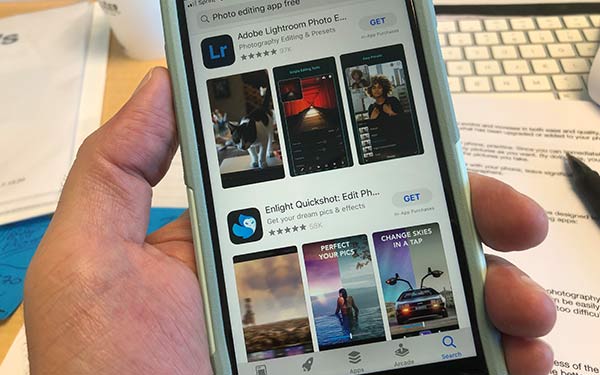
- Adobe Photoshop Express
- Adobe Lightroom for Mobile
- Enlight
- InstaSize
- Google Snapseed
- Pixlr
- Camera+
- TouchRetouch
There are a wide variety of photo apps to help you take your mobile photography to a higher level, letting you use advanced editing tools on the go. These apps can be easily acquired in your app store, and they can be deleted just as easily if you find them too difficult to use.
14. Plan Your Pictures When Possible
Part of taking amazing pictures with your phone is planning. Regardless of the type of photography you are interested in, the more you plan in advance, the better your results will be.
Take the time to increase and decrease your lighting, change the angle of your shot, scrutinize the background, remove unnecessary or unwanted items that may take attention away from your object, and watch for unwanted photo-bombers.
Many times, picture taking is a spur-of-the-moment event. However, once you know how to get your object(s) in the right lighting and prepare your location, you can capture some of the most excellent spontaneous images.
Cell Phone Photography
In this article, you discovered information, tricks, and tips to help you take some of the most stunning, tantalizing pictures with your phone.
By using a few simple lighting and positioning tricks, you can significantly improve the quality of the pictures you take on your phone.
When you ignore the lighting, setting, and positioning of your phone, you may never fully understand the capabilities of your phone’s camera and continue taking mediocre pictures.
Sources:
red.msudenver.edu/2019/7-tips-for-snapping-great-smartphone-photos.html
blog.hubspot.com/marketing/good-pictures-phone-tips
nyfa.edu/student-resources/beyond-rule-of-thirds-how-to-master-photo-composition/
Omni Worldwide – Atlanta Video Production Company
(678) 744-5960


